The 4WD Samurai uses three separate driveshafts, the shafts are designated as No. 1, No. 2, and No. 3: the No. 1 shaft connects the transmission to the transfer case, the No. 2 shaft connects the transfer case to the front differential, the No. 3 shaft connects the transfer case to the rear differential.

Removal:
1) Raise and safely support the vehicle on jackstands.
2) Matchmark the driveshafts to the yokes on the transfer case, or transmission, and the differential.
3) Support the driveshaft and remove the attaching bolts.
4) Remove the driveshaft from the vehicle.
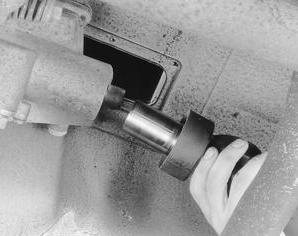
NOTE: The transmission side end of the No. 1 shaft does not have a flange piece; the end is splined and slides onto the output shaft inside the extension case. To remove the shaft, after detaching the transfer case end, just pull the shaft out of the extension case. When removing the No. 1 shaft, the transmission fluid will not leak if the front and the rear of the vehicle are raised evenly and the transmission fluid is filled to specification. If the vehicle is raised unevenly or the fluid is above specification, drain the transmission fluid prior to removing the No. 1 shaft.
To install:
1) The No. 2 and No. 3 shafts are equipped with slip joints on the shafts so that the driveshaft can expand (lengthen) or contract (shorten) itself. Pull the driveshaft apart and liberally fill the driveshaft splines with chassis grease. When reassembling the driveshaft, align the matchmarks on the splines and the shaft to prevent noise or vibration. Verify that the rubber boot is pulled over and is protecting the driveshaft splines
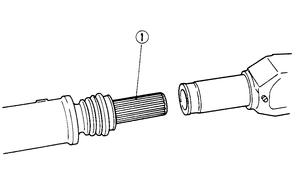
(Apply multi-purpose grease to the slip joint splines, then assemble the driveshaft halves)
2) Install the driveshaft, by aligning the matchmarks made during disassembly.
3) Install and tighten the mounting bolts to 37–43 ft. lbs. (50–60 Nm).
4) Lubricate the driveshaft U-joints at the grease fittings and lower the vehicle.
5) If fluid was drained (or leaked), refill the transmission to the proper level with the proper lubricant.
More Removal Information:
To remove the typical driveshaft, matchmark the driveshaft to the differential flange . .
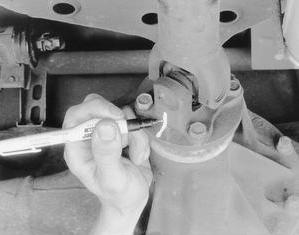
. . . then loosen the attaching nuts and bolts
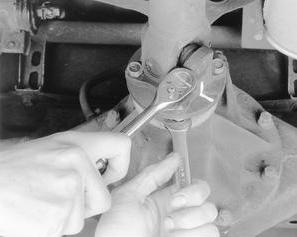
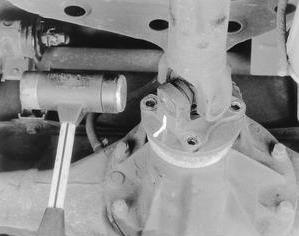
It may be necessary to use a plastic mallet to break the driveshaft free of the differential flange
Lower the end of the driveshaft . . .
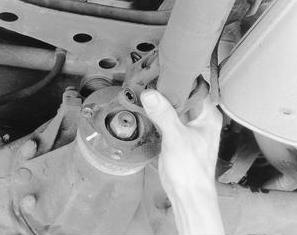
. . then slide the other end out of the transmission/transfer case — some models use another flange on this end as well